Mastering Buttercream Basics: A Guide to Perfectly Frosted Cakes
Buttercream is the cornerstone of cake decorating, offering endless versatility, rich flavor, and a smooth finish that transforms any cake into a work of art. Whether you’re crafting a classic birthday cake, a delicate wedding tier, or just a sweet treat for a friend, mastering the basics of buttercream is essential. This tutorial will guide you through the process, from making the perfect buttercream to expertly frosting your cake. Let’s dive in!
Step 1: Understanding Buttercream
Before we get started, let’s understand what buttercream is and why it’s the go-to frosting for many bakers. Buttercream is a blend of butter (or sometimes a combination of butter and shortening) and sugar, with added flavorings like vanilla, chocolate, or fruit. Its appeal lies in its creamy texture, rich taste, and ease of use. There are several types of buttercream, including American, Swiss meringue, and Italian meringue. In this tutorial, we’ll focus on American buttercream, the simplest and most common type, perfect for both beginners and seasoned bakers.
Step 2: Gather Your Ingredients
To make a basic American buttercream, you’ll need the following ingredients:
- 1 cup (2 sticks) unsalted butter, room temperature
- 4 cups powdered sugar, sifted
- 1/4 cup heavy cream or milk
- 2 teaspoons vanilla extract
- Pinch of salt
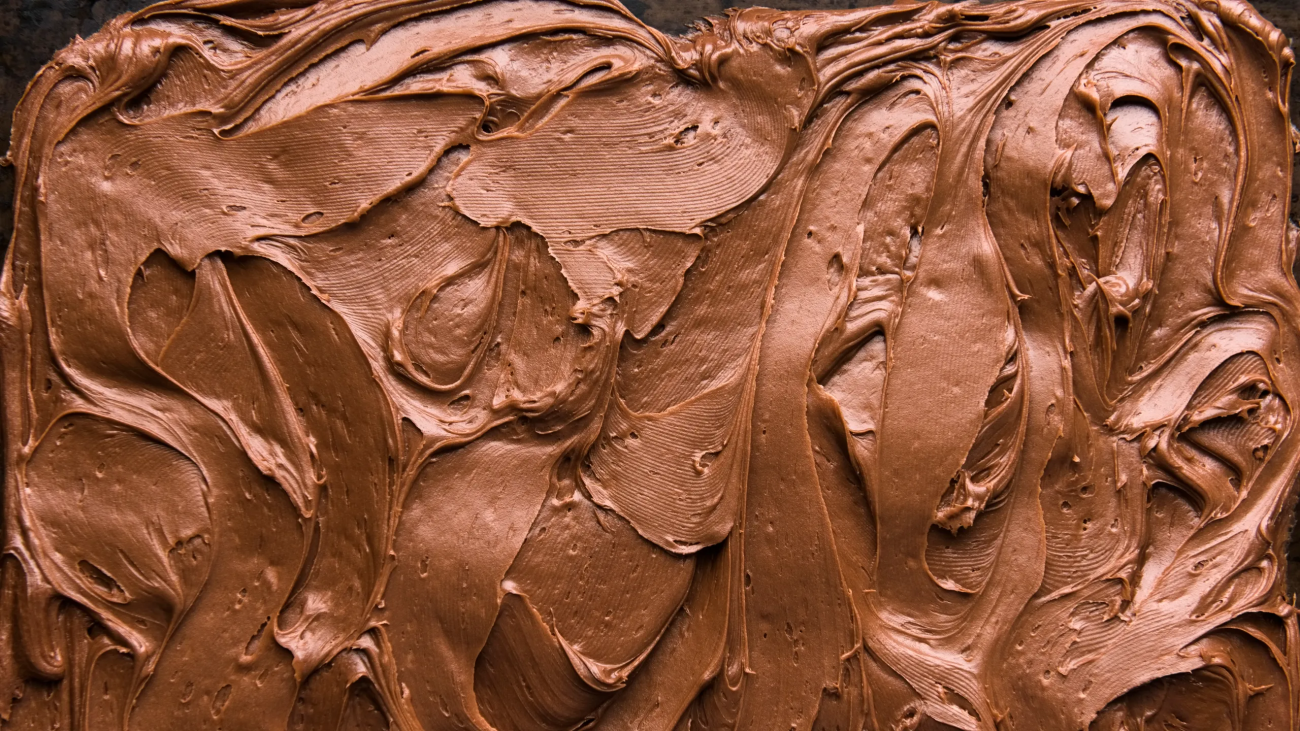
For chocolate buttercream, simply add 3/4 cup of unsweetened cocoa powder. For fruit-flavored buttercream, add a few tablespoons of fruit puree or jam.
Step 3: Make the Buttercream
- Beat the Butter:
Start by placing your room-temperature butter in the bowl of a stand mixer fitted with a paddle attachment, or use a hand mixer. Beat the butter on medium speed for about 3-5 minutes until it’s light and fluffy. The goal here is to incorporate air into the butter, which will give your frosting a smooth and creamy texture.
- Add the Sugar:
Gradually add the sifted powdered sugar, one cup at a time, beating on low speed until incorporated. Sifting the sugar is crucial, as it removes any lumps and ensures a smooth buttercream. Once all the sugar is added, increase the mixer speed to medium and beat for another 2-3 minutes.
- Add the Liquid:
With the mixer on low speed, slowly add the heavy cream or milk, vanilla extract, and a pinch of salt. If you’re making chocolate buttercream, add the cocoa powder at this stage. Increase the speed to medium-high and beat for an additional 3-5 minutes. The buttercream should be smooth, creamy, and easy to spread. If the frosting is too thick, add more cream, one tablespoon at a time, until you reach the desired consistency. If it’s too thin, add more powdered sugar.
Step 4: Prepare Your Cake
Before frosting your cake, make sure it’s properly prepared. This means your cake should be completely cool. Frosting a warm cake will cause the buttercream to melt and slide off, leading to a messy finish. Ideally, bake your cake a day in advance and refrigerate it. This not only makes the cake easier to frost but also helps the flavors develop.
- Level the Cake:
Use a serrated knife or a cake leveler to remove any domes from the top of your cake layers. Leveling your cake ensures that your layers stack evenly and your final cake has a professional, polished look.
- Crumb Coat:
Apply a thin layer of buttercream, known as a crumb coat, to the entire cake. The crumb coat locks in any loose crumbs, preventing them from mixing with your final layer of frosting. After applying the crumb coat, chill the cake in the refrigerator for 15-30 minutes to set the frosting.
Step 5: Frosting the Cake
Now that your cake is prepped, it’s time to frost it with buttercream. This step is where you can truly let your creativity shine.
- Apply the Buttercream:
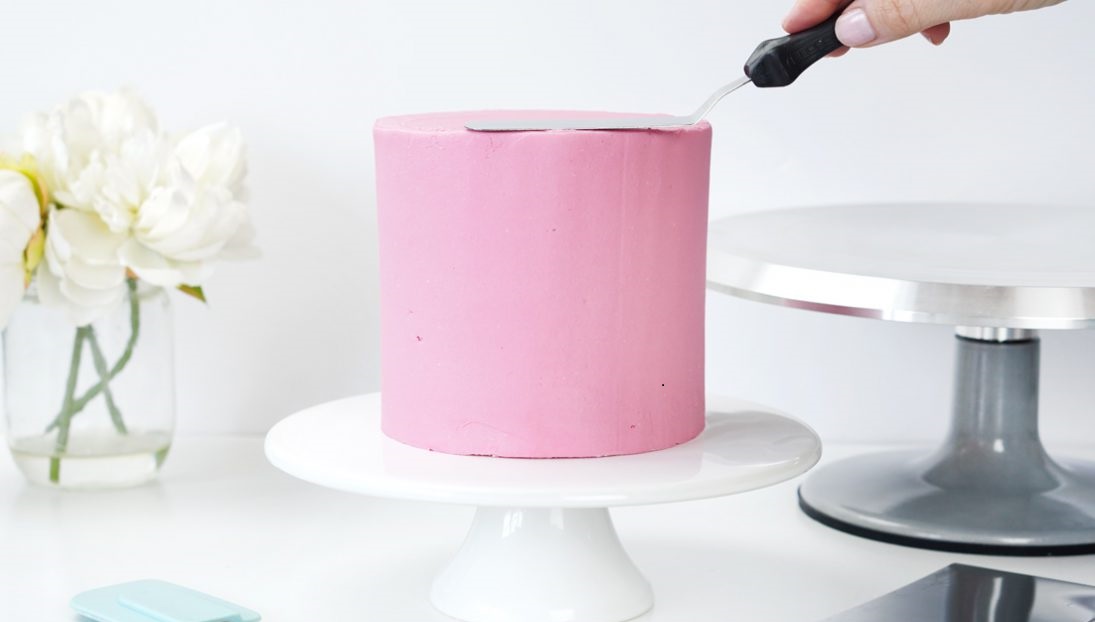
Start by adding a generous dollop of buttercream to the top of your cake. Using an offset spatula, spread the frosting evenly over the top, working from the center outward. Don’t worry about getting it perfect at this stage; the goal is to apply an even layer of frosting.
- Frost the Sides:
Once the top is covered, apply more buttercream to the sides of the cake. Use your spatula to spread the frosting evenly, rotating the cake as you go. A turntable makes this process much easier, allowing you to spin the cake while you frost it.
- Smooth the Frosting:
To achieve a smooth finish, use a bench scraper or cake smoother. Hold the scraper against the side of the cake at a slight angle and rotate the turntable, scraping away excess frosting. Wipe off the scraper after each pass to avoid smearing buttercream back onto the cake. For the top, hold your spatula at an angle and smooth the frosting toward the center.
- Final Touches:
Once you’re satisfied with the smoothness, it’s time to add any final touches. This could be piping decorative borders with a piping bag and tip, adding sprinkles, or even using edible flowers for a more elegant look.
Step 6: Piping Decorations
If you want to add some extra flair to your cake, piping decorations is a fantastic way to do it. Here’s a basic guide to get you started:
- Choose Your Tip:
Select the piping tip that suits your design. A star tip creates beautiful rosettes and borders, while a round tip is perfect for writing and dots. Fill your piping bag with buttercream, making sure not to overfill it, as this can make piping difficult.
- Practice Your Technique:
Before piping directly onto your cake, practice on a piece of parchment paper. This helps you get a feel for the pressure needed to create consistent designs.
- Pipe on the Cake:
Once you’re confident, pipe your designs onto the cake. Start with the borders, then add any other decorations. If you make a mistake, don’t worry—simply scrape off the frosting and try again.
Step 7: Troubleshooting Common Issues
Even the best bakers encounter challenges. Here’s how to troubleshoot some common buttercream issues:
- Buttercream Too Thick:
If your buttercream is too thick and difficult to spread, add a little more cream, one tablespoon at a time, until it reaches a spreadable consistency.
- Buttercream Too Thin:
If your buttercream is too thin, add more powdered sugar, a few tablespoons at a time, until it thickens.
- Air Bubbles in Buttercream:
If your buttercream has air bubbles, beat it on low speed for a few minutes to smooth it out. You can also press the frosting against the side of the bowl with a spatula to remove excess air.
- Frosting Melting:
If your buttercream is melting, your butter may have been too soft, or your kitchen may be too warm. Place the frosting in the refrigerator for 10-15 minutes to firm up, then beat it again before using.
Step 8: Storing and Serving
Once your cake is frosted and decorated, you can either serve it immediately or store it for later.
- Storing:
If you need to store the cake, cover it lightly with plastic wrap or place it in a cake box. Buttercream cakes can be stored at room temperature for 2-3 days or in the refrigerator for up to a week. Before serving, let the cake come to room temperature for the best texture and flavor.
- Serving:
When cutting your cake, use a sharp knife and wipe it clean between slices for neat, clean cuts. Enjoy the fruits of your labor, and bask in the compliments that are sure to come your way!
Final Thoughts
Mastering buttercream basics is a fundamental skill that opens up a world of possibilities in cake decorating. Whether you’re creating a simple birthday cake or an elaborate wedding masterpiece, the perfect buttercream will elevate your creation to new heights. Remember, practice makes perfect, and each cake you frost is an opportunity to refine your skills.
Happy baking! 🎂

